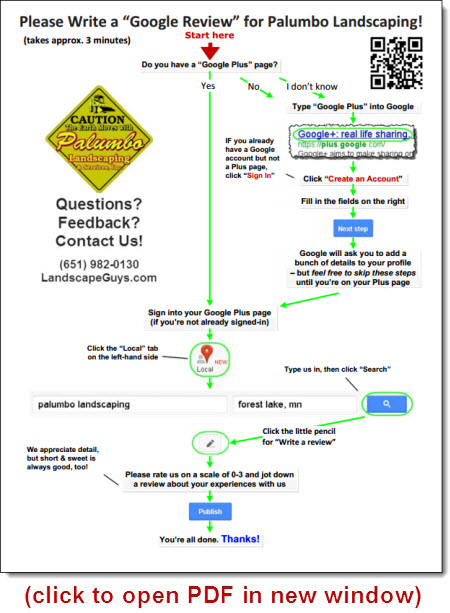
Update – 5:33pm, 6/10:
Be sure to read Linda’s super-helpful and clarifying comment at the bottom of this post. The steps I lay out here may help you, but in a different way from how I thought they would. Long story short, it seems I got my wired crossed 🙂
The switchover from Google Places to Google+Local pages has probably been pretty hands-free for you: Your Places page automatically became Google+Local page.
Unless you’ve already gone into your new listing, it probably looks a little bare. Some of the info from your old Places page may be missing on your new page. But making edits or adding info to your Google+Local page can be confusing – especially if you haven’t logged into your Google+Local page yet. It’s easy to get lost.
I think it’ll once again be easy to make edits to your local listing once Google goes through the next round of changes and switches over completely to “Google+ for Business” pages.
But in the meantime, during the long transition, you need to be able to navigate the confusion. That’s why I’ve put together this step-by-step walkthrough on how to edit your Google+Local page.
(By the way, I’m assuming you created and claimed your Google Places page some time ago, and that you just want to know how to edit your listing through the new Google+Local interface.)
Follow steps 1-19 if you haven’t logged into your Google+Local page, edited it, or added information to it since May 30, 2012. In other words, if you haven’t done anything with your Google+Local page, follow ALL the below steps, 1 -19.
Follow steps 13-19 if you’ve spent some time in your Google+Local page but simply want to know how to edit it (or forgot how to). If this describes you, scroll down to step 13.
How to edit your Google+Local page IF you’re logging into it for the first time:
1. Click the “+You” button in the top-left of Google’s homepage.

2. Click “Sign In” and sign in with the Google account you used to create your Google Places page. (If this isn’t possible, it’s still fine if you use a different one.)
3. Fill in your name and click “Upgrade.”
4. Feel free to skip the next few steps – the ones that ask you to find your “friends,” add a profile photo, etc. You can always loop back to these later.
5. You should now be on your Google+ page. In the bottom-left corner of the screen, click the “More” button, then click “Pages.”
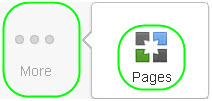
6. Click “Create new page.”
![]()
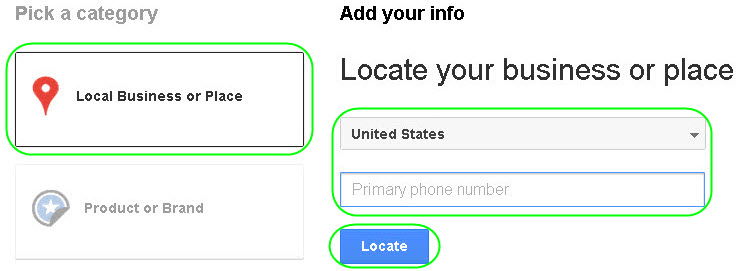
7. Under “Pick a category,” select “Local Business or Place, enter the phone number of your business on the right, then click “Locate.”
8. Click on your business listing (it should have a red map pin).
9. Select a category from the dropdown menu. These are only rough categories, so just pick whichever one seems most applicable.

10. Click “Create.”
11. Add a main photo to your Google+Local page, or click “Continue” if you feel like skipping this step.
12. Click “Finish.”
How to edit your Google+Local after the initial setup (above):
13. While logged into your Google+ page, hover over the “Pages” button on the left, and click on your business name when it appears in the drop-out menu.

IF you don’t see the “Pages” button on the left, hover over the “More” button in the bottom-left, and then select the “Pages” button when it appears in the drop-out menu.

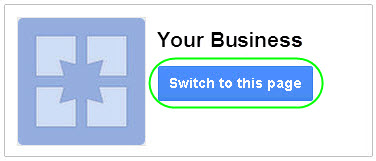
14. Your business name should appear. Click “Switch to this page.”
15. On the left, click “Profile.”

16. Click “Edit profile” (near top of page).

17. You’ll see a menu of info that you can edit (“Introduction,” “Hours,” etc.). Click once on each area you’d like to edit, make any changes you’d like, and hit “Save.”
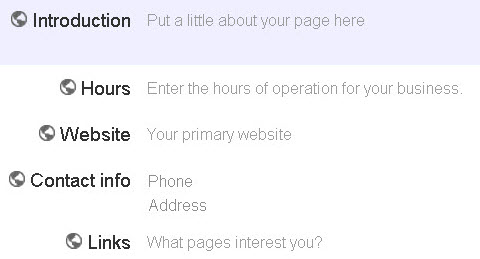
(Make sure to use the same info you put on your Google Places page, if it’s not already showing up.)
18. When you’re done editing or adding your info, click “Done editing” (near the top of the page).
![]()
19. Grab a cold brew to reward yourself for a job well done. Then get back to work on the other steps toward more local visibility in Google, getting reviews, etc. 🙂
(In case you weren’t sure, despite the switch to Google+Local, these steps are as applicable and necessary as ever).
Also make sure to request to be notified by Google when the next changes roll out.
 If you’re confused as to how to get customer reviews on your